Cowboy Cookie
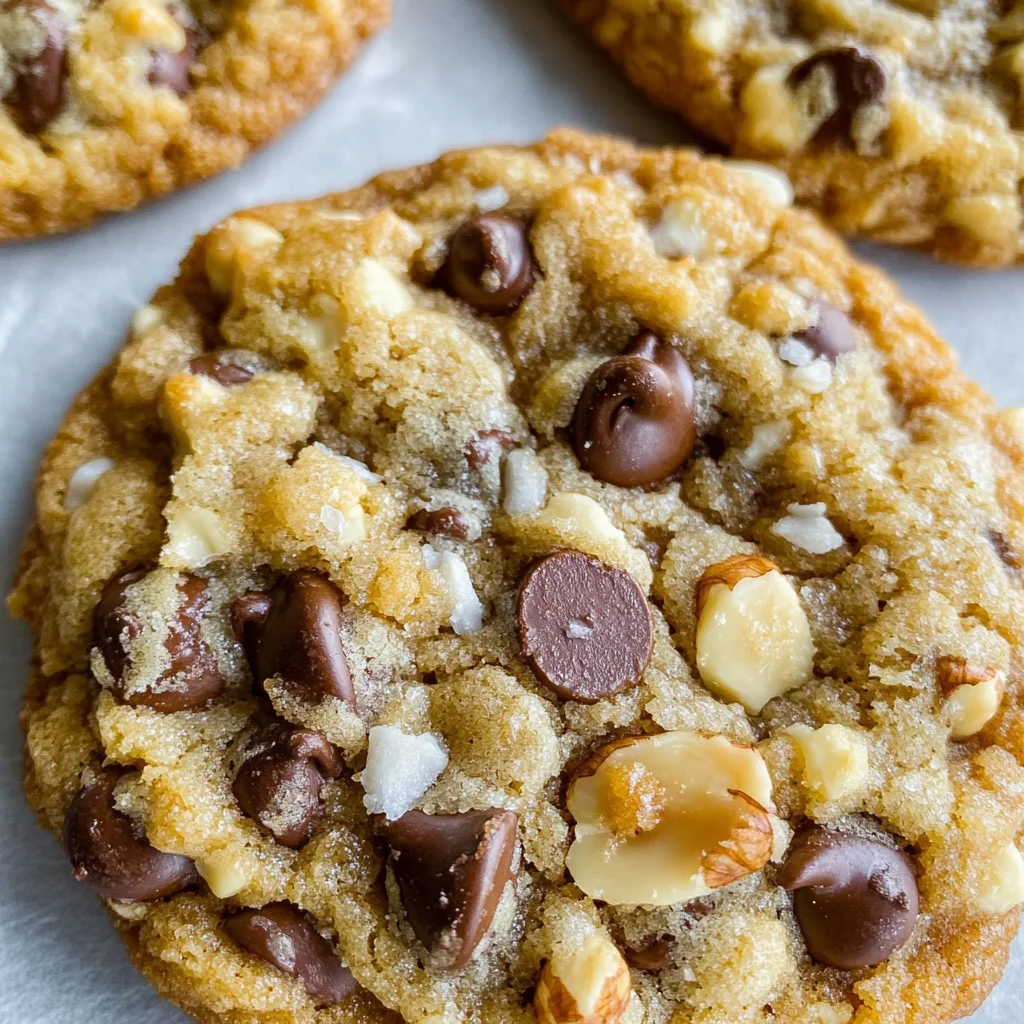
If you’re looking for a cookie that truly embodies the spirit of Texas, then this Cowboy Cookie recipe is just what you need! These cookies are not only a delightful treat but also perfect for any occasion—whether you’re hosting a family gathering, packing snacks for a road trip, or simply indulging after a long day. With their crispy edges and chewy centers, they offer a satisfying bite that will leave everyone coming back for more. The mix of ingredients creates a flavor explosion that’s hard to resist!
What makes this Cowboy Cookie recipe special is its versatility. You can whip up a batch quickly or make the dough ahead of time and chill it in the fridge. Trust me, your friends and family will be raving about these cookies!
Why You’ll Love This Recipe
- Easy Preparation: This recipe is straightforward and requires no fancy techniques, making it perfect for bakers of all levels.
- Family-Friendly Appeal: Kids love these cookies! They are packed with fun textures and flavors that everyone will enjoy.
- Make-Ahead Convenience: You can chill the dough for up to 24 hours, so you can prepare it whenever works best for you.
- Flavor Explosion: The combination of oats, chocolate chips, and pecans ensures every bite is deliciously satisfying.
Ingredients You’ll Need
These Cowboy Cookies are made with simple, wholesome ingredients that you probably already have in your kitchen. Let’s gather everything we need to get started!
For the Dough
- 1 cup butter (softened (2 sticks))
- 1 cup white sugar
- 1 cup brown sugar
- 2 large eggs
- 1 teaspoon vanilla
- 2 cups flour (spooned and leveled)
- 1/2 teaspoon salt
- 1 teaspoon baking powder
- 1 teaspoon baking soda
For the Mix-Ins
- 1 cup old fashioned oats
- 1 cup corn flakes
- 1 cup pecans (roughly chopped (and toasted!))
- 1/2 cup coconut flakes
- 1 (6-oz) cup peanut butter chips (I used Reese’s)
- 1 (6-oz) cup semi-sweet chocolate chips
Variations
The beauty of Cowboy Cookies lies in their flexibility! Feel free to mix things up according to your taste or what you have on hand.
- Add Different Nuts: Swap out pecans for walnuts or almonds for a different nutty flavor.
- Experiment with Chips: Try using milk chocolate chips or dark chocolate chips if you’re a chocolate lover!
- Incorporate Dried Fruits: Toss in some raisins or cranberries for a chewy surprise.
- Go Gluten-Free: Use gluten-free flour to make these cookies suitable for those with gluten sensitivities.
How to Make Cowboy Cookie
Step 1: Toast the Pecans
If you want to toast your pecans (you do! you do!), chop them up and throw them in a dry skillet over medium heat. Toast for 3-5 minutes until fragrant. This step enhances their flavor and adds a lovely crunch!
Step 2: Beat the Butter
In a large bowl or stand mixer, beat the softened butter until it’s light and fluffy. This aeration is key as it helps create that perfect texture in your cookies.
Step 3: Add Sugars
Add both sugars to the butter mixture and beat well, scraping down the sides and bottom of the bowl. This ensures everything is well combined and contributes to that sweet, rich flavor.
Step 4: Incorporate Eggs and Vanilla
Next, add the eggs and vanilla extract to your mixture. Beat well until fully incorporated—this not only binds everything together but also enriches the flavor.
Step 5: Mix Dry Ingredients
Add the flour directly into your bowl but don’t mix it yet! Sprinkle in the salt, baking powder, and baking soda over the flour. Use a small spoon to blend those dry ingredients together before mixing them into the dough. This way, everything is evenly distributed without over-mixing later on.
Step 6: Add Oats and Flakes
Gently fold in the oats, corn flakes, pecans, and coconut into your dough mixture. Be careful not to over mix; we want those delicious chunks throughout without toughening up our dough.
Step 7: Mix In Chips
Now it’s time for some sweetness! Add in your peanut butter chips and chocolate chips. Stir gently until everything is just combined—again, avoiding over-mixing helps keep those cookies tender.
Step 8: Chill Your Dough
Chill this cookie dough in the fridge for at least an hour or up to 24 hours if you’re planning ahead. Chilling allows the flavors to meld beautifully and helps control spreading during baking.
Step 9: Preheat Oven
Preheat your oven to 350 degrees F. Line a couple of baking sheets with silpat mats or parchment paper while you wait!
Step 10: Scoop Cookies
Use a generous 1/4 cup measuring cup (THINK TEXAS, YA’LL!) to scoop out portions of dough onto your prepared pans. Make sure there’s at least two inches between each ball—they’ll spread out as they bake!
Step 11: Bake Them Up
Bake at 350 degrees F for about 12-14 minutes until golden around the edges but still slightly shiny in the middle—don’t worry if there’s just a touch of shine; that’s perfectly fine!
Step 12: Cool & Enjoy
Let them cool as long as you can before digging in! These Cowboy Cookies are fantastic when dipped in milk or enjoyed on their own.
Enjoy making these delicious Cowboy Cookies—they’re bound to become a favorite in your home too!
Pro Tips for Making Cowboy Cookie
Baking should be fun and rewarding, so here are some tips to ensure your Cowboy cookies turn out perfectly every time!
-
Use room temperature butter: Starting with softened butter allows for better air incorporation, giving your cookies that light and fluffy texture we all love.
-
Don’t skip the chilling step: Chilling the dough helps to firm it up, which prevents the cookies from spreading too much in the oven. This results in thicker, chewier cookies.
-
Toast your nuts: Toasting pecans not only enhances their flavor but also adds a delightful crunch to each bite. Just be careful not to burn them!
-
Watch the baking time closely: Every oven is different! Start checking your cookies a minute or two before the suggested time to ensure they don’t overbake and lose their chewy center.
-
Experiment with mix-ins: Feel free to adjust the mix-ins based on your preference. Adding dried fruits or swapping chocolate chips for butterscotch can create your own signature version of these delicious cookies!
How to Serve Cowboy Cookie
These Cowboy cookies are perfect for sharing with friends and family or enjoying as a delightful treat any day of the week. Here are some ideas for how to present this tasty dessert!
Garnishes
- Sprinkle of sea salt: A light sprinkle of flaky sea salt on top just before baking can enhance the flavors and add a gourmet touch.
- Chocolate drizzle: Melt some extra chocolate chips and drizzle them over cooled cookies for an elegant presentation.
Side Dishes
- Cold glass of milk: The classic pairing! A cold glass of milk complements the rich flavors of these cookies beautifully.
- Vanilla ice cream: Serve warm cookies with a scoop of vanilla ice cream for an indulgent dessert sundae that’s hard to resist!
- Fresh fruit platter: Fresh berries or sliced apples provide a refreshing contrast to the sweetness of the cookies while adding a colorful touch.
- Coffee or tea: A warm cup of coffee or herbal tea makes for a comforting companion alongside these delightful treats, perfect for afternoon snacking or dessert.
Enjoy making, sharing, and indulging in these Texan delights!
Make Ahead and Storage
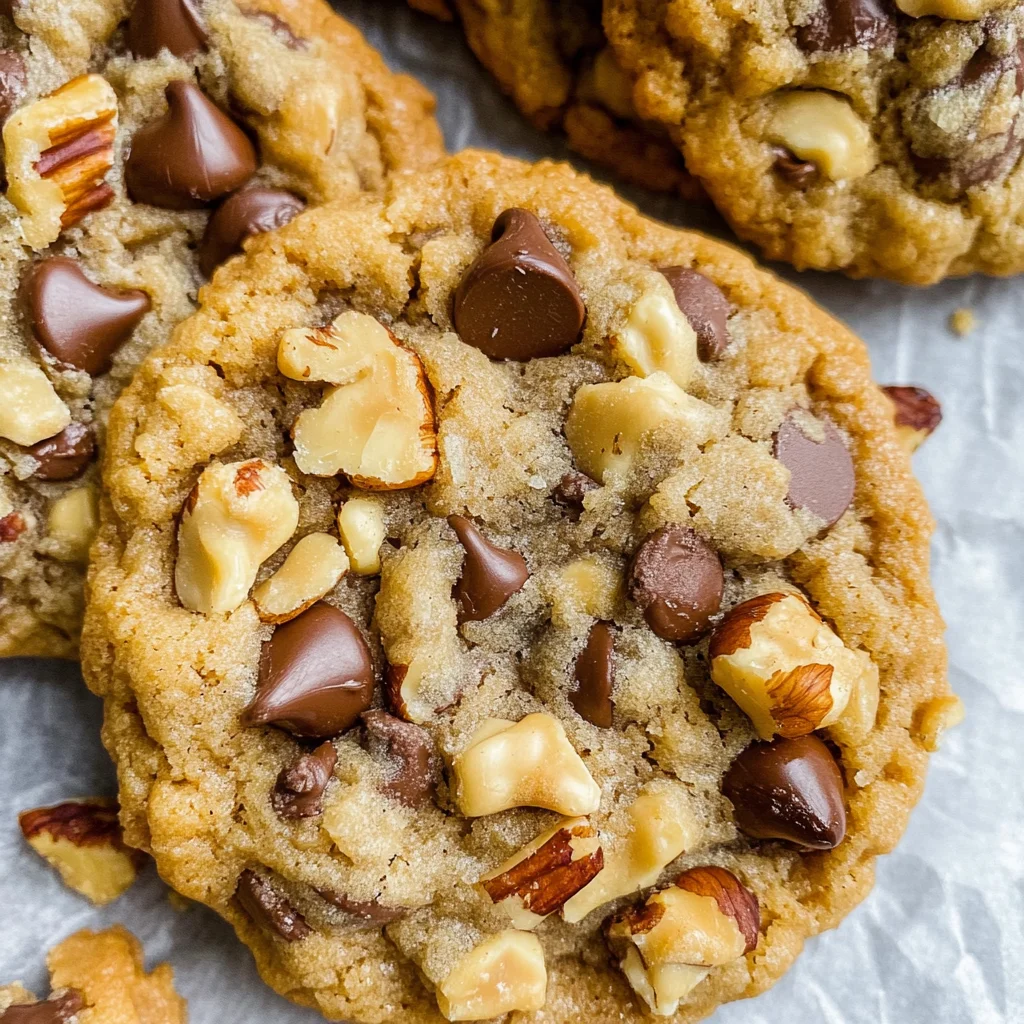
These Cowboy Cookies are perfect for meal prep since they stay fresh for several days and can be made ahead of time. You can easily whip up a batch, store them, and enjoy them throughout the week or share them with friends!
Storing Leftovers
- Store completely cooled cookies in an airtight container at room temperature.
- They will last for up to a week, but trust me, they won’t last that long!
- If you prefer softer cookies, place a slice of bread in the container to help keep them moist.
Freezing
- To freeze the dough, scoop it into balls and place them on a baking sheet.
- Freeze until solid, then transfer to a freezer bag or airtight container.
- The cookie dough can be frozen for up to 3 months. When you’re ready to bake, just add a couple extra minutes to the baking time.
- You can also freeze baked cookies in an airtight container for up to 3 months.
Reheating
- To reheat frozen cookies, allow them to thaw at room temperature for about 30 minutes.
- Warm them in the oven at 350°F (175°C) for about 5-7 minutes until heated through and slightly crispy again.
- Enjoy your cookies warm with a glass of milk!
FAQs
Here are some common questions about making Cowboy Cookies.
Can I use different types of chips in Cowboy Cookies?
Absolutely! Feel free to substitute or mix different kinds of chips like milk chocolate or butterscotch chips based on your preference.
What makes the Cowboy Cookie special?
The combination of textures from oats, corn flakes, and various mix-ins gives this cookie its unique charm. It’s packed with flavors that make every bite memorable!
How do I ensure my Cowboy Cookies are chewy?
Make sure not to overmix your dough and consider chilling it before baking. This helps achieve that perfect chewy center while keeping the edges crispy.
Can I make these Cowboy Cookies gluten-free?
Yes! Substitute all-purpose flour with a gluten-free blend that measures cup-for-cup. Ensure all other ingredients are gluten-free as well.
How long do Cowboy Cookies last?
Stored properly in an airtight container, they can last up to a week at room temperature or even longer if frozen!
Final Thoughts
I hope you find joy in making these delightful Cowboy Cookies! They’re not just delicious; they’re also perfect for sharing with loved ones or enjoying during cozy moments at home. So roll up your sleeves and bring Texas-sized happiness into your kitchen—happy baking!
Cowboy Cookie
If you’re craving a sweet treat that captures the essence of Texas, look no further than these flavorful Cowboy Cookies. With their perfectly crispy edges and chewy centers, each bite is a delicious blend of oats, chocolate chips, and nutty pecans. Perfect for any occasion—from family gatherings to road trips—these cookies are easy to make and will have everyone asking for seconds. Whether you whip up a batch in one go or prepare the dough ahead of time, these cookies bring joy and comfort with every mouthful.
- Prep Time: 15 minutes
- Cook Time: 14 minutes
- Total Time: 29 minutes
- Yield: Approximately 24 cookies 1x
- Category: Dessert
- Method: Baking
- Cuisine: American
Ingredients
- 1 cup softened butter
- 1 cup white sugar
- 1 cup brown sugar
- 2 large eggs
- 1 teaspoon vanilla extract
- 2 cups all-purpose flour
- ½ teaspoon salt
- 1 teaspoon baking powder
- 1 teaspoon baking soda
- 1 cup old-fashioned oats
- 1 cup corn flakes
- 1 cup chopped and toasted pecans
- ½ cup coconut flakes
- 6 oz peanut butter chips
- 6 oz semi-sweet chocolate chips
Instructions
- Preheat your oven to 350°F (175°C) and line two baking sheets with parchment paper.
- In a skillet over medium heat, toast the chopped pecans for about 3–5 minutes until fragrant.
- In a large bowl, beat the softened butter until fluffy. Add both sugars and mix well.
- Incorporate eggs and vanilla extract until combined.
- In another bowl, whisk together flour, salt, baking powder, and baking soda.
- Gradually mix the dry ingredients into the wet mixture without over-mixing.
- Fold in oats, corn flakes, toasted pecans, coconut flakes, peanut butter chips, and chocolate chips gently.
- Chill the dough in the fridge for at least an hour or up to 24 hours.
- Scoop generous portions of dough onto prepared sheets with at least two inches between each cookie.
- Bake for about 12–14 minutes until golden around the edges but slightly shiny in the center.
- Allow cookies to cool before enjoying!
Nutrition
- Serving Size: 1 cookie
- Calories: 210
- Sugar: 14g
- Sodium: 80mg
- Fat: 10g
- Saturated Fat: 5g
- Unsaturated Fat: 4g
- Trans Fat: 0g
- Carbohydrates: 28g
- Fiber: 2g
- Protein: 3g
- Cholesterol: 20mg


